
If you want to make delicious and aromatic biryani at home without much effort, then Instant Pot Chicken Dum Biryani is a great option for you. Traditional dum biryani takes a lot of time to prepare, but using an Instant Pot, we can achieve that amazing flavor much faster and easier. I often make this at home, and everyone in my family loves it.
Therefore, in this article, we will guide you through the complete process of making Instant Pot Chicken Dum Biryani, so that your biryani turns out delicious and is ready quickly.
What Is Instant Pot Chicken Dum Biryani?
The sole distinction between Instant Pot Chicken Dum Biryani and traditional chicken dum biryani is that the former is made in an Instant Pot, which makes preparation simpler and faster. In order to completely blend the flavors of all the spices, traditional dum biryani is cooked over extremely low heat.
When made in an Instant Pot, it uses the same slow-cooking method but with the added benefit of pressure and controlled heat, resulting in tender chicken and fragrant rice, making it even more delicious.
Ingredients Required for Instant Pot Chicken Dum Biryani
For chicken marination
- Chicken (with or without bone)
- Thick yogurt
- Ginger-garlic paste
- Red chili powder
- Turmeric powder
- Garam masala
- Biryani masala
- Salt
- Lemon juice
- Mint leaves (chopped)
- Coriander leaves (chopped)
For rice
- Basmati rice
- Water
- Whole spices (bay leaf, cloves, cardamom, cinnamon)
- Salt
Step-by-Step Instant Pot Chicken Dum Biryani Recipe
Below, we have provided you with step-by-step instructions on how to make Instant Pot Chicken Dum Biryani. You can use the information below to make this recipe delicious.
Marinate the Chicken
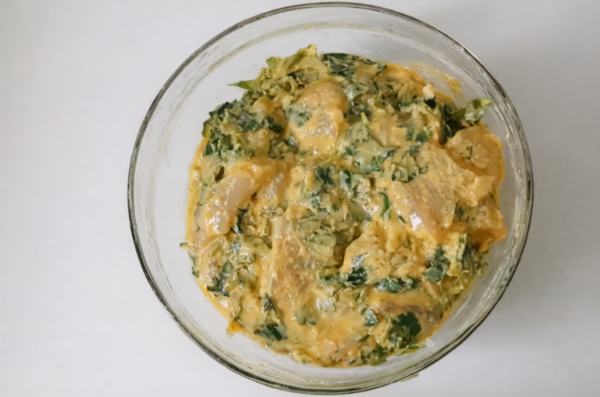
Wash and dry the chicken thoroughly. Then, place the chicken in a large bowl. Add the yogurt, ginger-garlic paste, all the powdered spices, salt, lemon juice, mint, and coriander. Mix everything well. After mixing, cover the bowl and refrigerate for one to two hours.
Prepare Rice
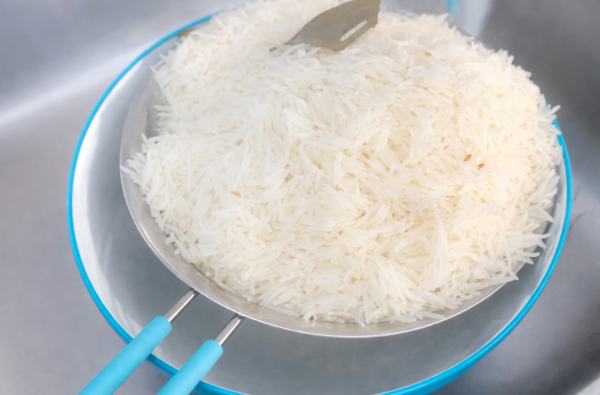
Rinse the basmati rice thoroughly until the water runs clear, then soak it for 20 to 30 minutes. This helps the rice cook evenly and prevents it from breaking apart.
Sauté Onions in Instant Pot
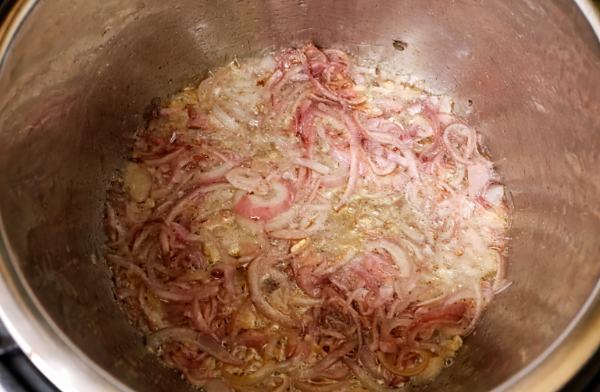
Now, set your Instant Pot to sauté mode, add oil or ghee, and then add all the onions. Sauté the onions until they turn light golden brown (these onions are the key to the delicious flavor of the biryani). This is what makes the biryani extra flavorful.
Add Marinated Chicken
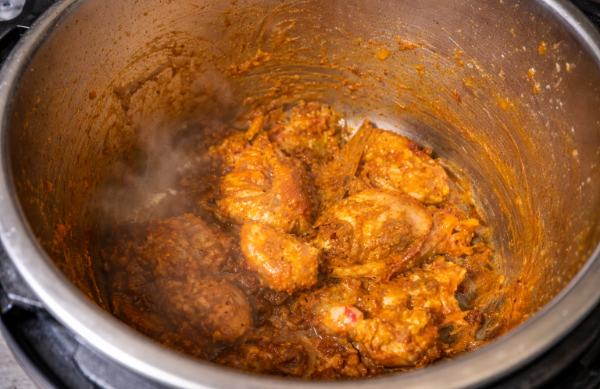
Add the marinated chicken on top of the sautéed onions in the Instant Pot and spread the chicken out slightly. Do not stir it too much, and now let it cook for a few minutes so that all the water evaporates from the chicken.
Layer Rice and Herbs
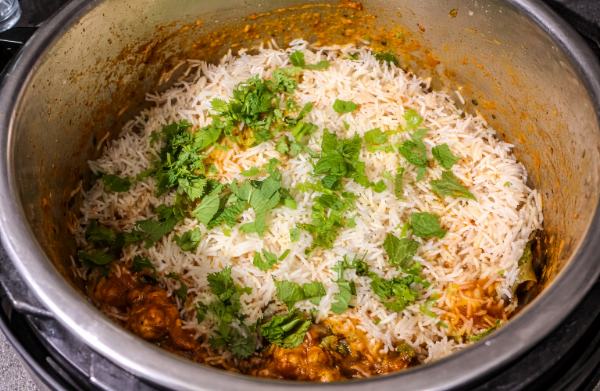
Now, drain the water from the soaked rice and spread a layer of it over the chicken. Then add water, whole spices, and a little salt on top. Finally, add some mint and coriander leaves. Remember, do not mix everything after creating the layers.
Pressure Cook the Biryani
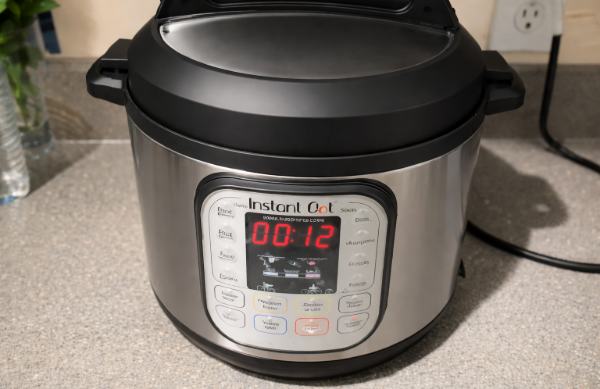
Now close the lid of the Instant Pot and set it to the pressure cook mode. After everything is cooked, let the pressure release naturally for some time. Then open the lid and gently fluff the rice.
Serve it
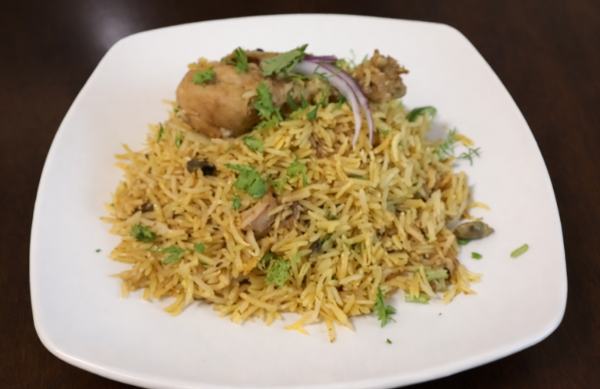
Your Instant Pot Chicken Dum Biryani is now ready! It’s time to serve the hot Instant Pot Chicken Dum Biryani with raita, salad, or lemon wedges and enjoy!
Recipe Tips
To make Instant Pot Chicken Dum Biryani even more delicious, we have provided some tips below.
- When making this dish, always use good-quality basmati rice.
- If you prefer spicier food, you can add a little more chili.
- The rice shouldn’t be overcooked, and soaking it in water is essential.
- Adding ghee makes the dish even more delicious.
- Do not stir the rice after layering the ingredients.
Conclusion
We have explained the step-by-step process of making Instant Pot Chicken Dum Biryani, and I hope you have learned how to make this recipe by now. Instant Pot Chicken Dum Biryani is the perfect recipe for those who don’t have much time but still want to enjoy a delicious meal.
So, be sure to try this recipe at home and let us know in the comments how it turned out for you!